| We have just completed our printmaking project! Most of the project went really well, and other parts you had to make changes. The first step of printmaking is to come up with what you are going to print. I chose to do my logo. The first problem I ran into was that I had three colors! We could only do two. I solved my problem by changing the colors of my logo, but keeping my karate belt, and words. It would look like the picture to the right. Then I had realized that i would have to have a green background. I didn't want to print a green background, so I used green paper instead. Next, I had to draw my design on a small piece of paper. I had to remember that my words had to be backwards, or they would be backwards on the print. When I was done I colored on the the back of the paper, and re traced on the piece of the linoleum. Then the graphite traced onto the linoleum block. Finally, I got to start craving! We had to use special carving tools for certain parts of carving. Around my letters I had to use a smaller carving tool to carve. Then where my green is I could use a bigger tool! Then once I completed carving I got to start printing. To the right is what it looked like when I was done carving! When I started to print I noticed that I was leaving a purple mark in the corner of my print. To solve the problem I cut out the corner that was leaving the mark. You can see the first print I did that had the corner mark. Below is the picture of my linoleum block when I cut out my corner. Then finally after all my work I some really good prints! there is a slide show below to see my prints! | 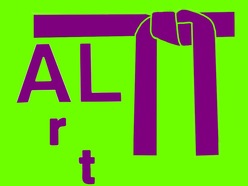 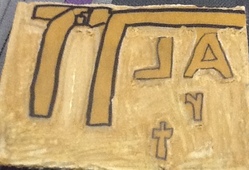 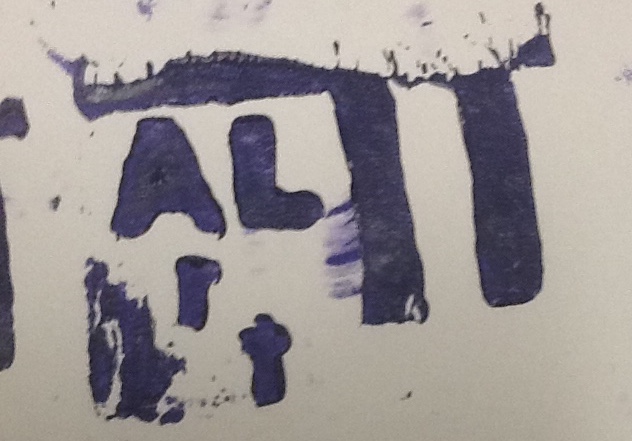 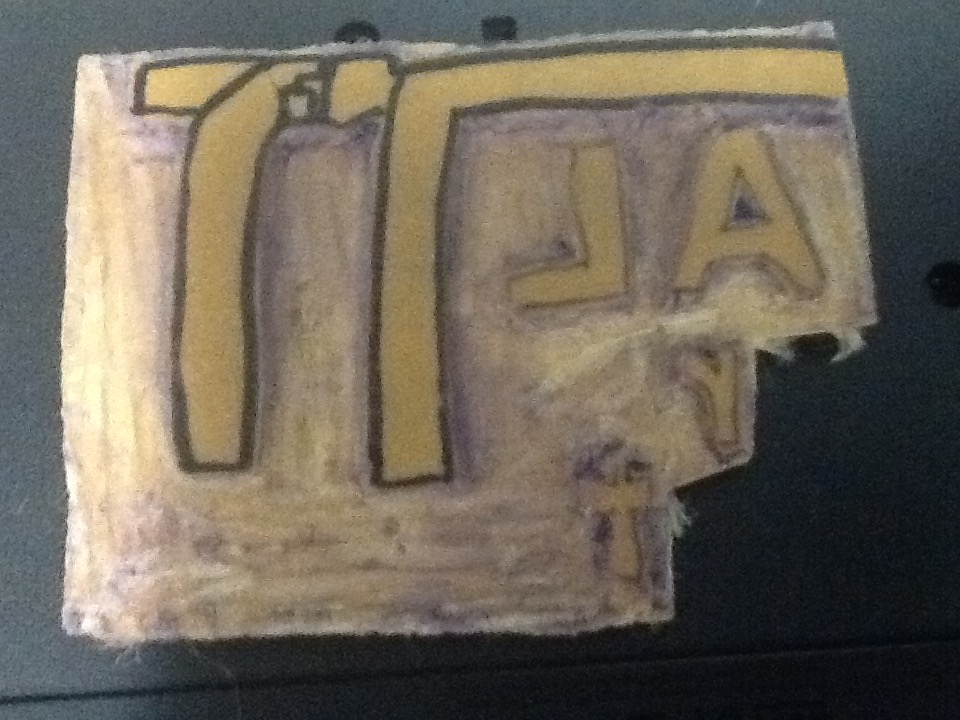 |
|
3 Comments
|
AuthorMy name is Alex! I love going to karate classes and, reading!!! Archives
May 2015
Categories |
 RSS Feed
